

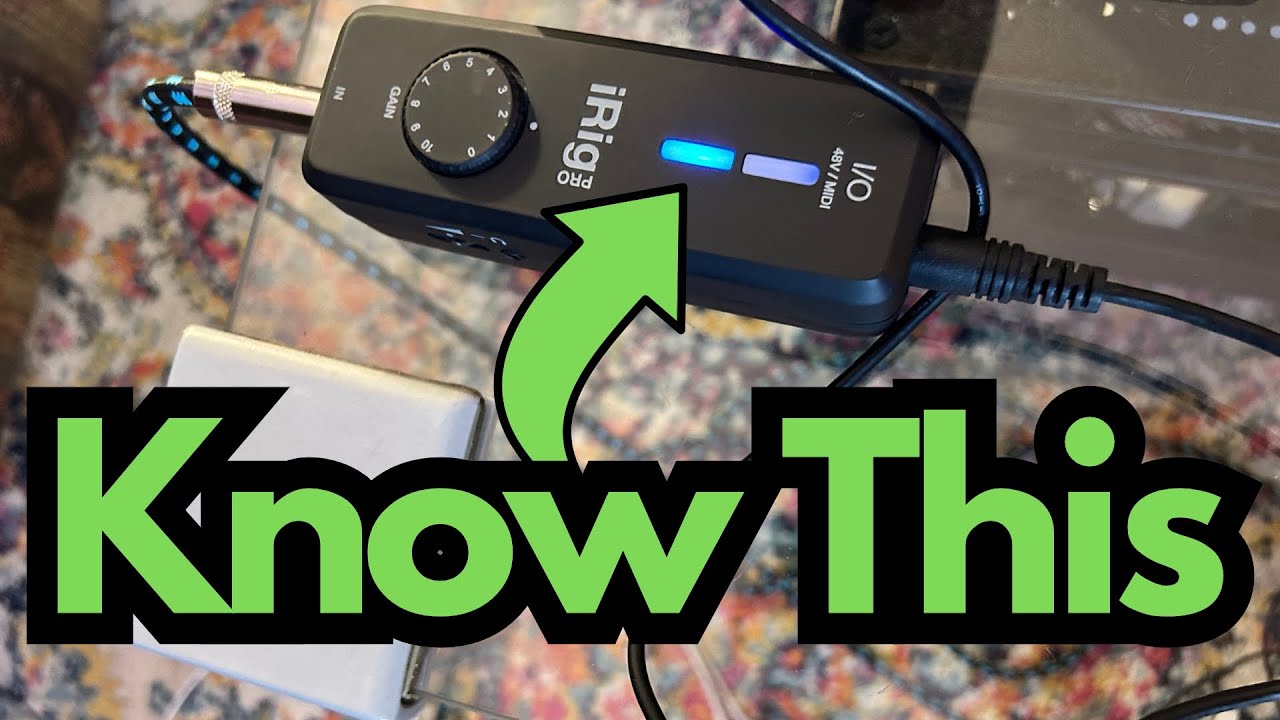
If you’re using an iRig Pro I/O to record guitar into your phone, tablet, or computer, getting the input level right is crucial. Too low and your tone will sound weak and noisy. Too high and you’ll clip, distort, and ruin otherwise great takes.
The good news: the iRig Pro I/O actually makes this pretty simple—as long as you understand what its LEDs are telling you. You can grab some here on Amazon.
This quick guide walks through how to set your levels properly, what the colors really mean, and what to aim for when you’re digging in on the guitar.
Overview / First Impressions
The iRig Pro I/O is a compact audio interface that lets you plug your guitar straight into your mobile device or computer. It’s designed to be simple: one gain knob, a few LEDs, and you’re ready to go.
Where many guitarists get tripped up is with the input level indicator. The instinct is often: “If it ever turns orange, that’s bad—keep it green at all costs.” But with the iRig Pro I/O, that’s not actually the best approach.
Build Quality & Design (As It Relates to Levels)
From a guitarist’s perspective, the most important part of the design here is the input gain control and the multi-color LED meter:
- Green – Safe, clean signal
- Orange – Strong, healthy level
- Red – Too hot, clipping
The interface is built to give you a clear visual cue as you play, so you can set levels by feel and by watching the LEDs rather than staring at a DAW meter the whole time.
Features & Functions: Understanding the LED Meter
The key feature to understand is the input gain LED:
- When you play normally, you want the LED to sit mostly in green.
- When you strum hard or really dig in, it’s perfectly fine—even desirable—for it to hit orange.
- You want to avoid red entirely. Red means you’re clipping the input, which leads to harsh, unusable distortion.
According to the manual, orange is actually the ideal range for your loudest peaks. It indicates that you’re using the available headroom efficiently without overloading the input.
How to Set Your Levels (Step-by-Step for Guitarists)
Here’s a simple way to dial in the iRig Pro I/O for electric guitar:
- 1. Turn your guitar volume up
- Set your guitar’s volume knob to where you’ll actually play—usually full up or close to it.
- If you use multiple pickups, pick the one with the hottest output (often the bridge humbucker) while setting levels.
- 2. Play as hard as you ever will
- Strum as aggressively as you’re likely to during a song, not just gentle picking.
- Include big chords and strong accents.
- 3. Watch the LED
- Adjust the iRig Pro I/O gain knob so that:
- Normal playing = mostly green
- Hardest strums / peaks = brief flashes of orange
- No red, even when you really dig in
- Adjust the iRig Pro I/O gain knob so that:
- 4. Test with real parts
- Play a riff, some chords, and maybe a lead line—anything you’d realistically track.
- Confirm that you’re getting:
- Clean, solid level
- No red flashes
- Occasional orange on your loudest moments
If you follow that process, you’ll hit the sweet spot: strong signal, full tone, and no clipping.
How It Sounds / Use Cases
With levels set this way:
- Clean tones stay clear, full, and noise-free because you’re not recording too quietly.
- Overdriven and high-gain tones feel more responsive and dynamic, since you’re not starving the amp sim or plugin with a weak signal.
- Dynamic playing (palm mutes vs. open chords, light picking vs. heavy attack) translates better into your recordings, because you’re using the proper headroom.
This approach is ideal for:
- Recording into mobile amp sims (AmpliTube, ToneX, etc.)
- Tracking DI guitars into a DAW for later reamping
- Practicing with headphones while still getting a punchy, realistic feel
Limitations / Things to Know
A few practical points to keep in mind:
- Don’t fear the orange. On this device, orange is not the danger zone—it’s where your strongest peaks should land.
- Red is the real problem. Even brief red flashes mean you’re clipping the input stage. Turn the gain down until those disappear.
- Set once per guitar. If you switch from low-output single-coils to hot humbuckers, re-check your levels. Different pickups can hit the interface very differently.
- Play like you mean it when setting levels. If you set your gain while playing softly, you’ll almost certainly clip when the real performance gets intense.
Final Thoughts
The iRig Pro I/O is a powerful little interface for guitarists, but it only shines if your input level is set correctly. Aim for:
- Green for normal playing
- Orange for your loudest hits
- No red at all
Once you get comfortable with that simple rule, you’ll get cleaner recordings, better tone, and a more natural feel from your amp sims and plugins—without having to overthink the tech.