

Figuring out how to properly tighten and loosen a Carhartt dog collar can feel oddly confusing at first. The hardware can look a bit like some mysterious strap system, and it’s not always obvious which way to pull. You can grab one here on Amazon if you’re interested.
This quick guide walks you through exactly how to adjust a standard adjustable dog collar so it fits your dog safely and comfortably.
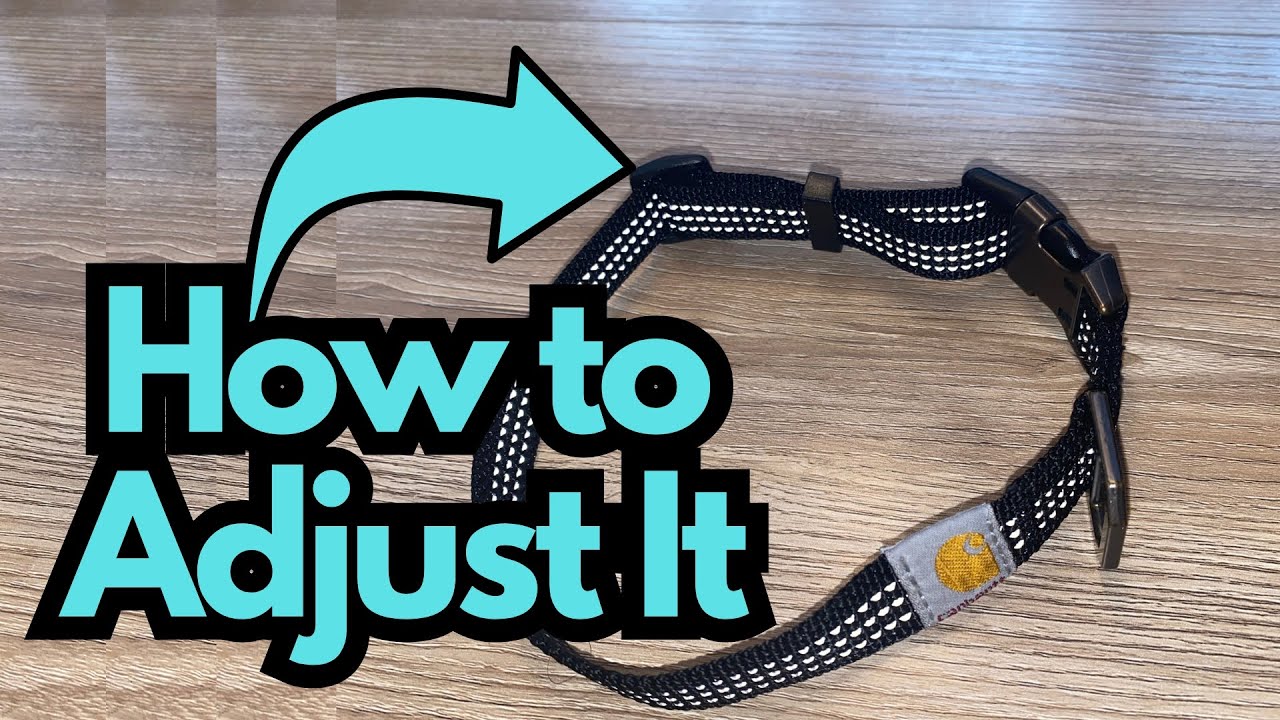
Overview / First Impressions
We’re looking at a typical adjustable dog collar with:
- A length of webbing (the “strap”)
- A sliding fastener/clip (often called a tri-glide or adjuster)
- A buckle and D-ring for attaching a leash
The key to adjusting the collar is understanding how the webbing passes through that sliding fastener. Once you see how it works, tightening and loosening becomes easy and intuitive.
Build & Design Basics
Most adjustable collars share a similar design:
- Main strap/webbing – The long piece that actually wraps around your dog’s neck.
- Adjuster/slider (fastener or clamp) – The small plastic or metal piece the strap weaves through. This is what you move to change the size.
- Buckle – Clips the collar on and off.
- D-ring – Attachment point for tags and leash.
The strap usually passes through the adjuster in a loop: in one side, out the other, then back again. When you pull on one end of the strap, it either tightens or loosens the loop that goes around your dog’s neck.
How to Tighten the Collar
To make the collar smaller (tighter around your dog’s neck):
- 1. Lay the collar flat
Unbuckle it and lay it out so you can clearly see the adjuster and both ends of the strap. - 2. Find the adjustable end
One end of the strap will be “free” (the extra tail that sticks out past the adjuster). This is the part you’ll pull on. - 3. Slide the adjuster toward the buckle
Hold the buckle or the section of strap that forms the main loop. With your other hand, pull the free end of the strap through the adjuster toward the buckle. As you do this, the adjuster will move closer to the buckle, shortening the loop that goes around the dog’s neck. - 4. Fine-tune the fit
Keep pulling until the collar is snug but not tight. A good rule of thumb: you should be able to fit two fingers comfortably between the collar and your dog’s neck. - 5. Do not over-tighten past the designed range
You can sometimes force the adjuster past its intended limit, but that can:
Stay within the normal adjustment range marked by the manufacturer (or the obvious physical limits of the hardware).
How to Loosen the Collar
To make the collar larger (looser around your dog’s neck):
- 1. Lay the collar flat again
Unbuckle it so you can see what you’re doing. - 2. Reverse the direction
Instead of pulling the strap toward the buckle, you’ll now pull it away from the buckle. - 3. Move the adjuster away from the buckle
Hold the main loop section steady. Pull the strap on the opposite side of the adjuster so the adjuster slides away from the buckle. As the adjuster moves away, the loop that goes around your dog’s neck gets larger. - 4. Check the fit on your dog
Put the collar back on and clip it. Again, aim for that “two-finger” gap between collar and neck.
You can repeat this tightening and loosening process until you find the sweet spot.
Practical Tips & Things to Know
- Collar size matters
If you realize, like in this example, that the collar is simply too big even at its tightest setting, you probably need the next size down. An oversized collar can slip off or sit awkwardly. - Don’t force it past the stop
Most adjusters are not meant to be pulled beyond certain points. Forcing it can: - Check adjustment regularly
Especially with puppies or newly adopted dogs: - Comfort and safety first
A properly adjusted collar should:
Final Thoughts
Adjustable dog collars can seem confusing at first, but the principle is simple: you’re just sliding that central fastener along the strap to change the size of the loop.
To tighten: pull the free end so the adjuster moves toward the buckle.
To loosen: pull the strap so the adjuster moves away from the buckle.
If you find you’re at the very smallest setting and it’s still loose, don’t fight the hardware—just size down to a smaller collar. Your dog will be safer and more comfortable, and adjustment will be much easier.