

If you’re running a laptop or compact desktop and constantly wishing for “just one more screen,” the Tobin 1 Mini Display Docking Station is surprisingly useful. It’s a tiny external display built into a USB‑C dock—perfect for keeping an eye on meters, chat windows, reference notes, or system monitors without eating up desk space.
This little unit is clearly aimed at people who want:
- A super-portable second (or third) display
- A simple, plug‑and‑play dock with extra ports
- A clean, minimal setup with a single USB‑C cable
Below, we’ll walk through what it is, how it works, and a couple of setup tips so you don’t get stuck wondering why your tiny screen suddenly became your “main” monitor.
You can grab it here on Amazon if you’re interested.
Overview / First Impressions
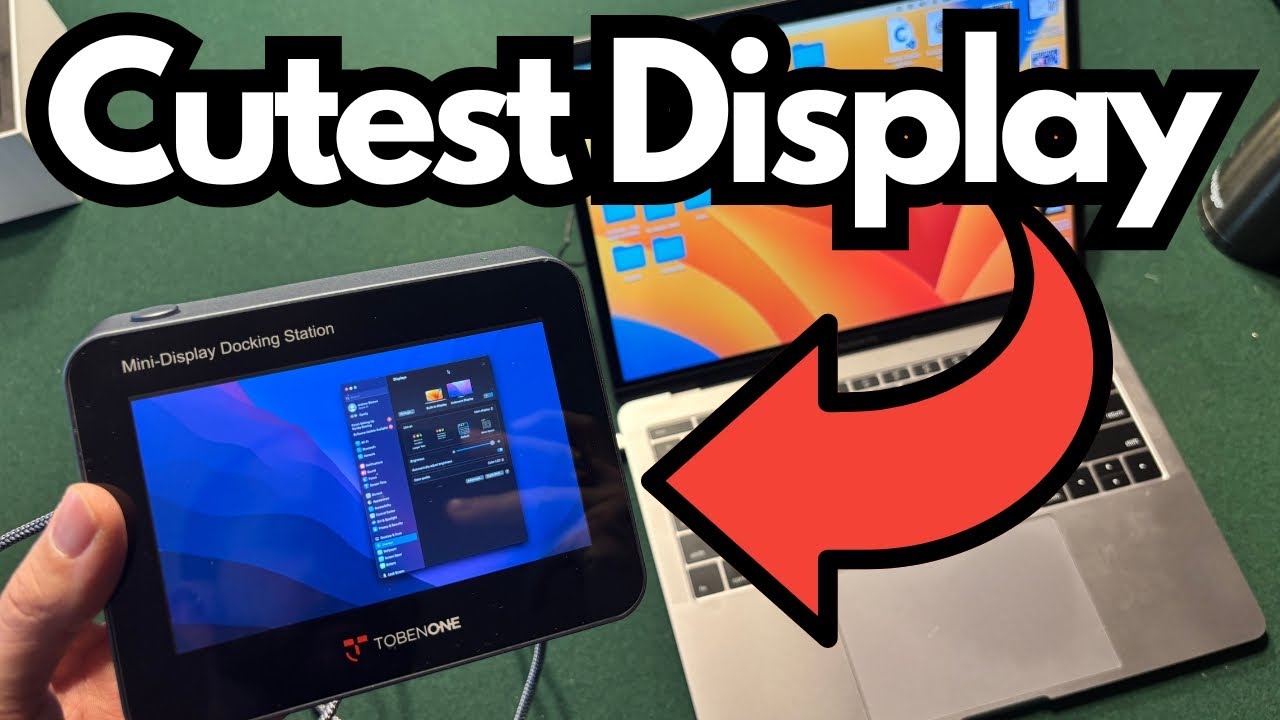
Out of the box, the Tobin 1 Mini Display Docking Station is genuinely small and pretty charming. The main impressions:
- Very compact – It’s a “mini” display in the truest sense; ideal for secondary info, not your main workspace.
- Comes ready to go – In the package you’ll find:
- The mini display dock itself
- A soft pouch for carrying it
- A USB‑C cable
There are no paper instructions, but that’s intentional. The whole idea is that it’s plug‑and‑play.
Build & Design
The design is straightforward and functional:
- Integrated mini screen on the front
- Ports on the back for expansion
- USB‑C connection to your laptop or computer
It’s clearly made to sit at the base of your main monitor or off to the side, giving you a tiny extra display plus extra I/O without taking up much room.
Ports & Connections
On the back of the Tobin 1 Mini Display Docking Station, you get:
- SD card slot
- MicroSD card slot
- Two USB‑A ports (standard USB, great for peripherals)
- One USB‑C power delivery port (for power input and charging passthrough)
- One USB‑C “host” connection (this is the cable that goes to your computer)
Notably:
- You do not need HDMI for the display to work.
- Everything—video, data, and power—runs through USB‑C.
Setup: How to Get It Working
1. Physical Setup
- Take the mini display out of its pouch.
- Remove any protective film from the screen.
- Plug the included USB‑C cable into the type‑C host port on the dock.
- Plug the other end of that USB‑C cable into your laptop or desktop.
That’s it for the hardware side. The display should power up once it’s connected.
2. Adjusting Display Settings (Mac or PC)
The only real setup step is in your operating system’s display settings.
On Windows
- Right‑click the desktop and choose Display settings.
- Scroll to the section where you see your monitors laid out (1, 2, 3, etc.).
- Make sure:
- Your main big monitor is set as “Make this my main display.”
- The mini display is set as an extended display, not the primary one.
- Arrange the monitors visually so the tiny one appears where it is physically (e.g., to the right of your main screen).
On macOS
- Go to System Settings (or System Preferences on older macOS versions).
- Open Displays.
- Use the arrangement view:
- Drag the white menu bar onto your main big monitor to keep it as the primary display.
- Position the mini display where it sits relative to your main monitors.
If you skip this step, your computer may decide the tiny screen is the default primary monitor, which is usually not what you want.
How It Works in Practice
Once everything is connected and configured:
- The mini screen simply behaves like any other external monitor.
- You can:
- Drag windows onto it
- Use it for secondary apps or tools
- Extend your desktop real estate in a compact way
Common use cases include:
- Keeping system monitors, chat clients, or email visible
- Parking reference documents or notes off to the side
- Monitoring recording software, timers, or streaming tools while your main work stays on your big screen
Because it’s so small, it’s not meant for heavy editing or full-time work, but it excels as a dedicated “info screen.”
Limitations / Things to Know
A few practical notes:
- Tiny screen = secondary use only
It’s great as a helper display, not as your main workspace. - Display settings are essential
If you don’t set your primary monitor correctly, the system can default to the mini display as the main screen, which is awkward to use. - USB‑C required
The whole setup relies on USB‑C. If your computer doesn’t have it, you’ll need an adapter, and behavior may vary. - No HDMI option
Everything is over USB‑C—convenient for modern laptops, but not ideal if you rely on HDMI outputs.
Final Thoughts
The Tobin 1 Mini Display Docking Station is a clever little combo: a tiny, always-on display plus a handful of useful ports, all over a single USB‑C cable. If you’re short on desk space but still want another screen for secondary information, it’s a neat, plug‑and‑play solution.
As long as you take a minute to configure your display settings so your main monitor stays the primary, the Tobin 1 just works—and does exactly what you’d expect from a mini display dock.